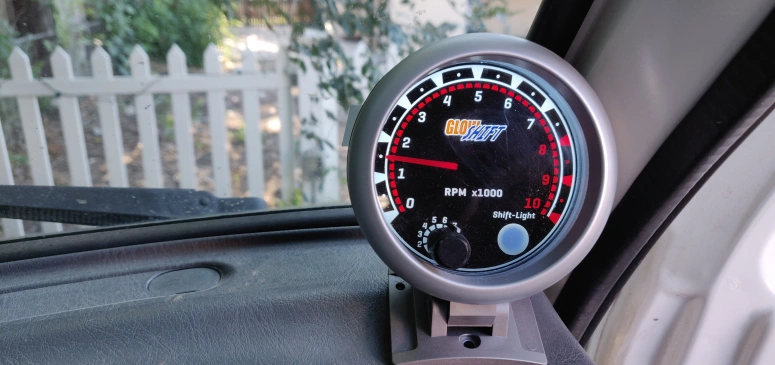
 Custom tachometer installed on the 96 Daihatsu Hijet
Why
Ever since putting on off-road worthy tires on the Hijet the road noise has increased considerably. So much so that I wasn’t sure at times exactly how high I was revving the truck. So to avoid blowing up the engine I decided to add a tachometer.
This post will quickly show how to add a tach on a 1996 Daihatsu Hijet.
Items Used
- GlowShift Tachometer
- Wago connectors
- ATC Blase fuse taps
- Low voltage wire
Tachometer Info
Before we get started make sure your tachometer supports 3 cylinder engines. The Glowshift I chose allows for 1-10 cylinder support by turning a knob on the back of the unit.
Tachometer placement
Find a place you want to place the tachometer at. I decided to go at the top right of the dash seen here:
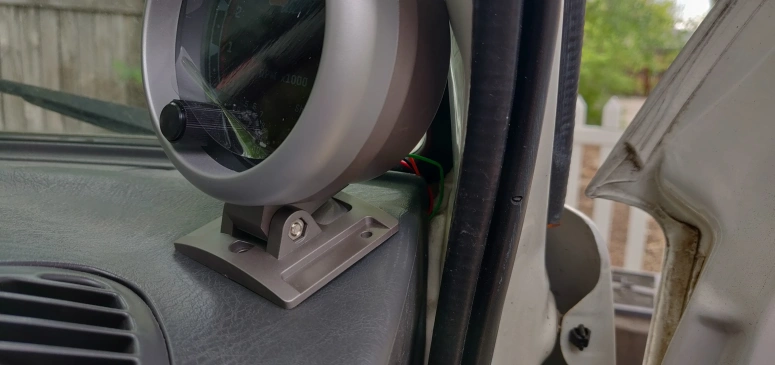 Tachometer dash placement
I routed all the wires behind the dash and secured them with zip ties applying some good cable management. To get better access at routing the wires I did take off the instrument dash panel. This was really simple. If you decide to go this route simply unscrew two screws at the top of the panel:
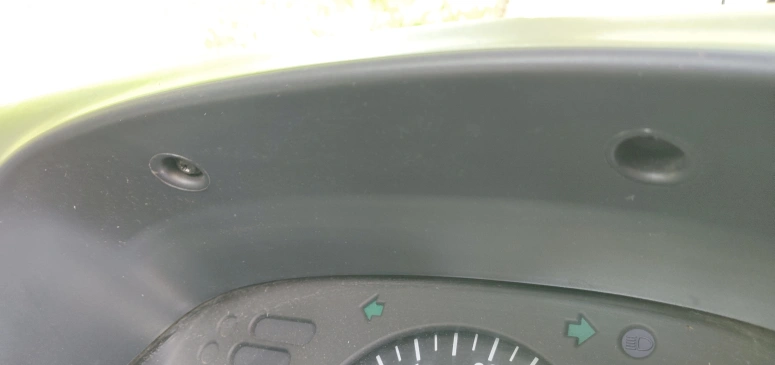 Dash panel top screws
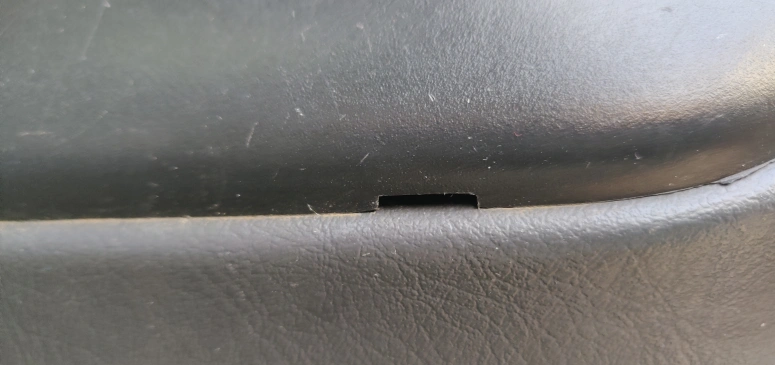
Then start popping of the trim with a small trim remover piece using the small tabs on the panel seen here:
Then once you slowly pop off everything simply undo the 4x4 button wire attach to it and set the panel aside.
Which Wire to Connect the Tachometer to
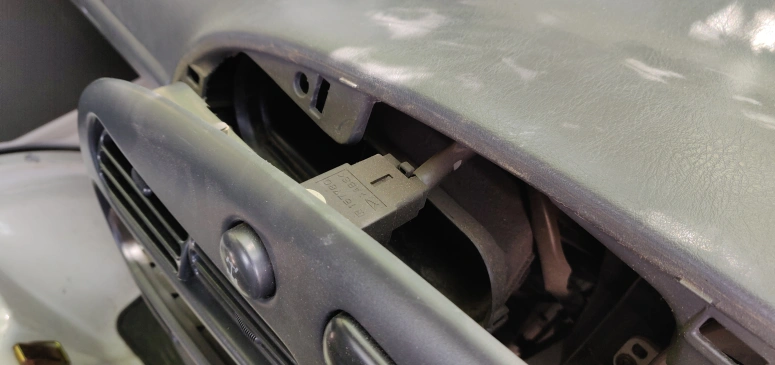
This will be located near the distributor cap on the S110P which is near the middle of the truck. Just unscrew the engine access panel and look for this wire plug:
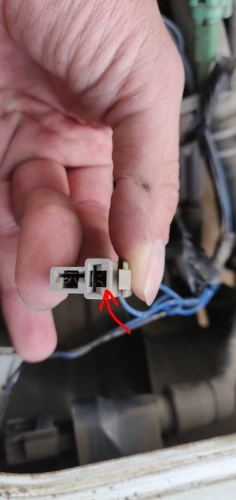
To make finding this easier, this plug was connected to a female plug that had no wires attached to it. It was a just a dead-end plug. The exact wire I spliced into was this one here:
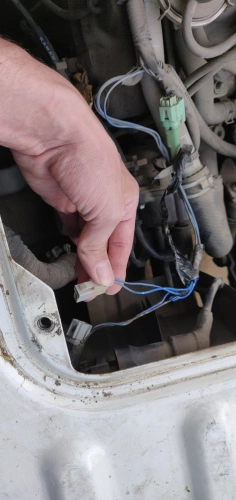
Before you make anything final, test out the connections first. It should be the same across all S110Ps, but I’m not 100% sure. After you confirm everything works use some wago connectors and hook everything up:
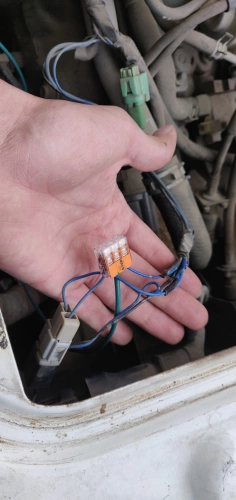
I was afraid the wago connectors would not hold up to the engine heat, but It has been doing great so far. The green wire seen in the image above is the wire I ran all the way to the tachometer location on the dash. This wire goes through one of the grommets underneath the parking brake, under the floor mats, and up to the tachometer unit.
Grounding and Power
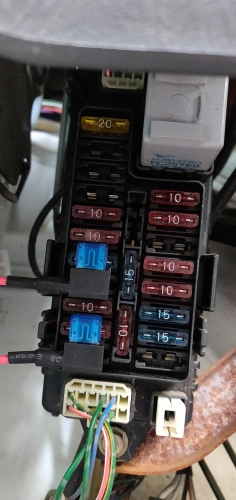
Last step is to connect the ground to somewhere on the chassis. Just find an exposed metal screw and attach it to that using some ring connectors. For the power I used on of the ATC Blase fuse taps to tap into the ACC fuse so the tachometer will turn on and turn off with the truck. The ACC fuse connector is the one in the bottom:
Here is a diagram of the fuse box (which you should have too):
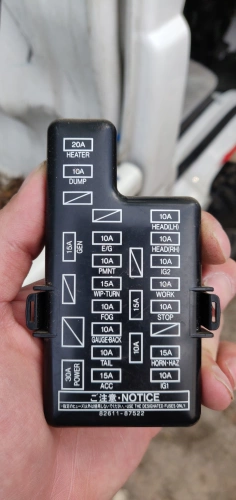
The GlowShift tachometer has a feature where it dims itself a bit if the lights are turned on. To accomplish this I connected the dimming wire to the 10A fog fuse, the TAP at the top of the first picture.
Conclusion
Skipped over some details, but easy install once you know which wire to connect to. Here is a video of the final result: